To use the MS Word template for check printing, follow these steps:
- Download and Open the Template: Start by downloading the MS Word template and opening it in Microsoft Word.
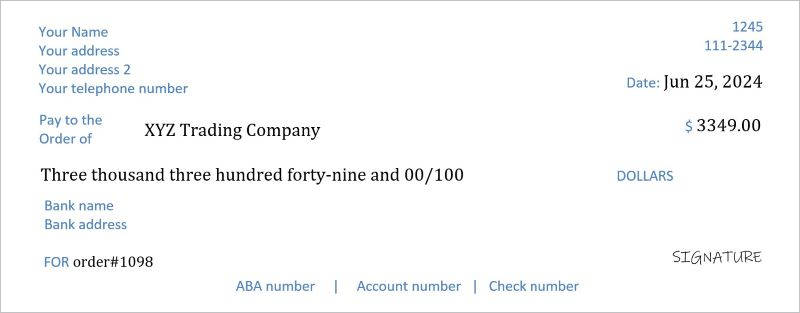
- Remove Blue Text for Pre-Printed Checks: If you are using a pre-printed check blank, ensure you remove any blue color text from the template.
- Customize Text Boxes: Drag and drop the text boxes to position them correctly on the check. Adjust the fonts and sizes as needed to match your preferences.

customize the template to meet your needs - Test Print on Blank Paper: Before printing on an actual check, perform a test print on a blank sheet of paper to verify the alignment and appearance of the text.
- Prepare the Check for Printing: Attach a blank check form to an 8 1/2" by 11" printer paper using about 3/4-inch of double-sided tape or 2-inches of single-sided tape folded over itself sticky side out. Ensure the check is positioned in the exact upper left corner of the paper.
- Print the Check: Insert the prepared paper into your printer and print the check as you would any other document.
- Save and Backup the Template: Once the template prints correctly on your check, save the customized template and create a backup for future use. This will save you time and ensure consistency for subsequent checks.
By following these steps, you can efficiently print checks at home or in the office using a regular printer, ensuring all necessary information is accurately placed on your check.